
In this fourth part of my multipart article on converting my Murdered by Midnight Board Game to a Mobile Game App using Swift and SwiftUI, I’ll cover supporting macOS Catalyst in my Multiplatform SwiftUI game.
TL;DR Takeaway: If you’re not dealing with macOS Catalyst, feel free to move along… Otherwise, this part is super short and a quick read!
Hopefully, other indie developers can find this information useful.
Index:
- Part 1 – Deals with converting a mockup to SwiftUI, handling different device sizes & screen ratios and displays screens as needed.
- Part 2 – Covers adding Game Center support to a SwiftUI app.
- Part 3 – Covers handling tvOS quirks in a SwiftUI app.
- Part 4 – Covers handling macOS Catalyst quirks in a SwiftUI app.
- Bonus Round – Covers handling Music, Sound Effects & Voice in a SwiftUI app.
Challenge 9 – Rendering the UI for Mac
My initial intention was to write a fully native version of the game for macOS using SwiftUI. While I had no major issues running my common UI code on macOS for my Stuff To Get app, Murdered by Midnight‘s code proved way different. It basically rendered as a total mess.
To make everything work “just right” on Mac, I could see it was going to take significant amounts of time. My short launch window didn’t really allow for that. Because this was a game and user’s will be more forgiving of UI/UX quirkiness, I decided to go the macOS Catalyst route, and it worked great.
I was able to make a few tweaks to the game code (see below for more details) and launch the game on time.
Challenge 10 – Setting the Default Screen Size
When I was first running the game on macOS (as a Catalyst app), the initial screen size was tiny and I need a way to set the default size. Additionally, because of the nature of the game UI, I needed to set a maximum size as well.
While I could easily find info about handling this on the internet for traditional iOS apps that used UIKit, I had a hell of a time finding info relating to SwiftUI and @main.
What I ended up discovering was this:
import SwiftUI
import SwiftletUtilities
import SwiftletData
import CloudKit
import GameKit

@main
struct Murdered_by_MidnightApp: App {
    @ObservedObject var dataStore = MasterDataStore.sharedDataStore
    @AppStorage("isFirstRun") var isFirstRun: Bool = true
    @Environment(\.scenePhase) private var scenePhase
    @AppStorage("showOnboarding") var showOnboarding = true
    @Environment(\.colorScheme) var colorScheme

    var body: some Scene {
        WindowGroup {
            switch(dataStore.currentView) {
            case .startNewGameView:
                StartGameView()
            ...
            }
        }
        .onChange(of: scenePhase) { newScenePhase in
            switch newScenePhase {
            case .active:
                print("App is active")

                // Set the current system-wide color scheme
                Color.colorScheme = self.colorScheme

                // Set mac window size and remove title bar
                limitMacWindowSize()
            case .inactive:
                print("App is inactive")
            case .background:
                print("App is in background")
            @unknown default:
                print("App received an unexpected new value.")
            }
        }
    }

    func limitMacWindowSize() {
        #if targetEnvironment(macCatalyst)
        UIApplication.shared.connectedScenes.compactMap { $0 as? UIWindowScene }.forEach { windowScene in
            // Set minimum and/or maximum mac window size
            windowScene.sizeRestrictions?.minimumSize = CGSize(width: 1800, height: 1200)
            //windowScene.sizeRestrictions?.maximumSize = CGSize(width: 1100, height: 800)

            ...
        }
        #endif
    }
}
The code in limitMacWindowSize allow me to set the minimum and maximum window sizes when running on macOS. In the .onChange event, when the app becomes .active, I call this routine to configure the window. Additionally, this call only happens if I’m compiling for targetEnvironment(macCatalyst).
Challenge 11 – No Window Title Bar
Actually, this was kind of easy because of the code added above to handle the screen sizes. All I had to do was expand limitMacWindowSize:
func limitMacWindowSize() {
    #if targetEnvironment(macCatalyst)
    UIApplication.shared.connectedScenes.compactMap { $0 as? UIWindowScene }.forEach { windowScene in
        // Set minimum and/or maximum mac window size
        windowScene.sizeRestrictions?.minimumSize = CGSize(width: 1800, height: 1200)
        //windowScene.sizeRestrictions?.maximumSize = CGSize(width: 1100, height: 800)

        // Remove the mac window title bar
        if let titlebar = windowScene.titlebar {
            titlebar.titleVisibility = .hidden
            titlebar.toolbar = nil
        }
    }
    #endif
}
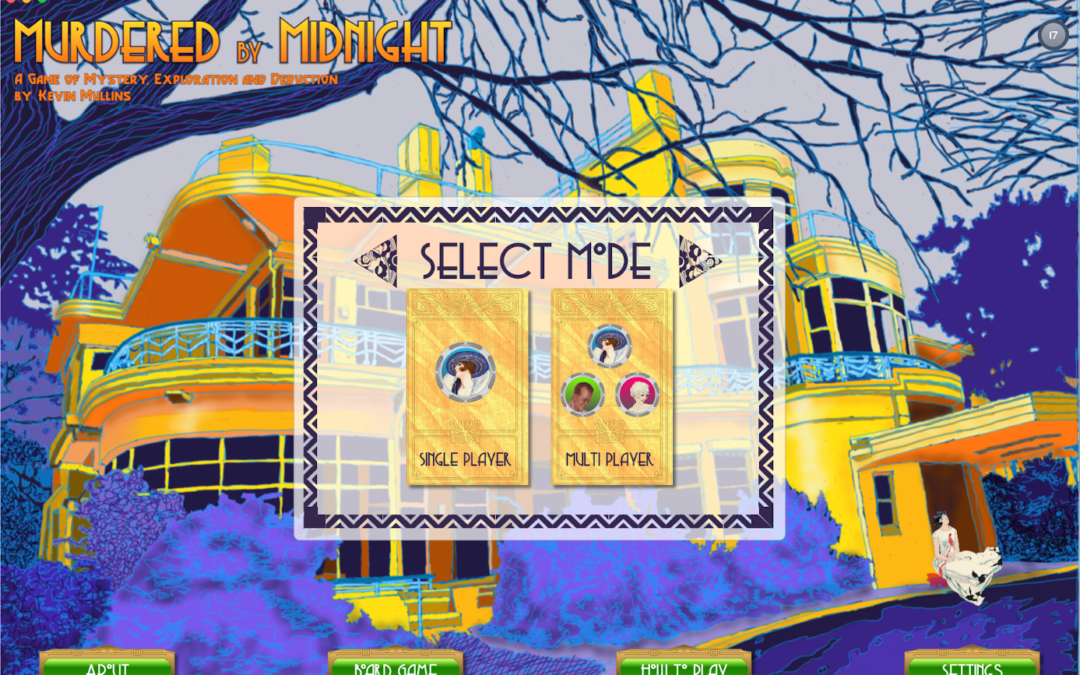
Which looks like this when the app is run:
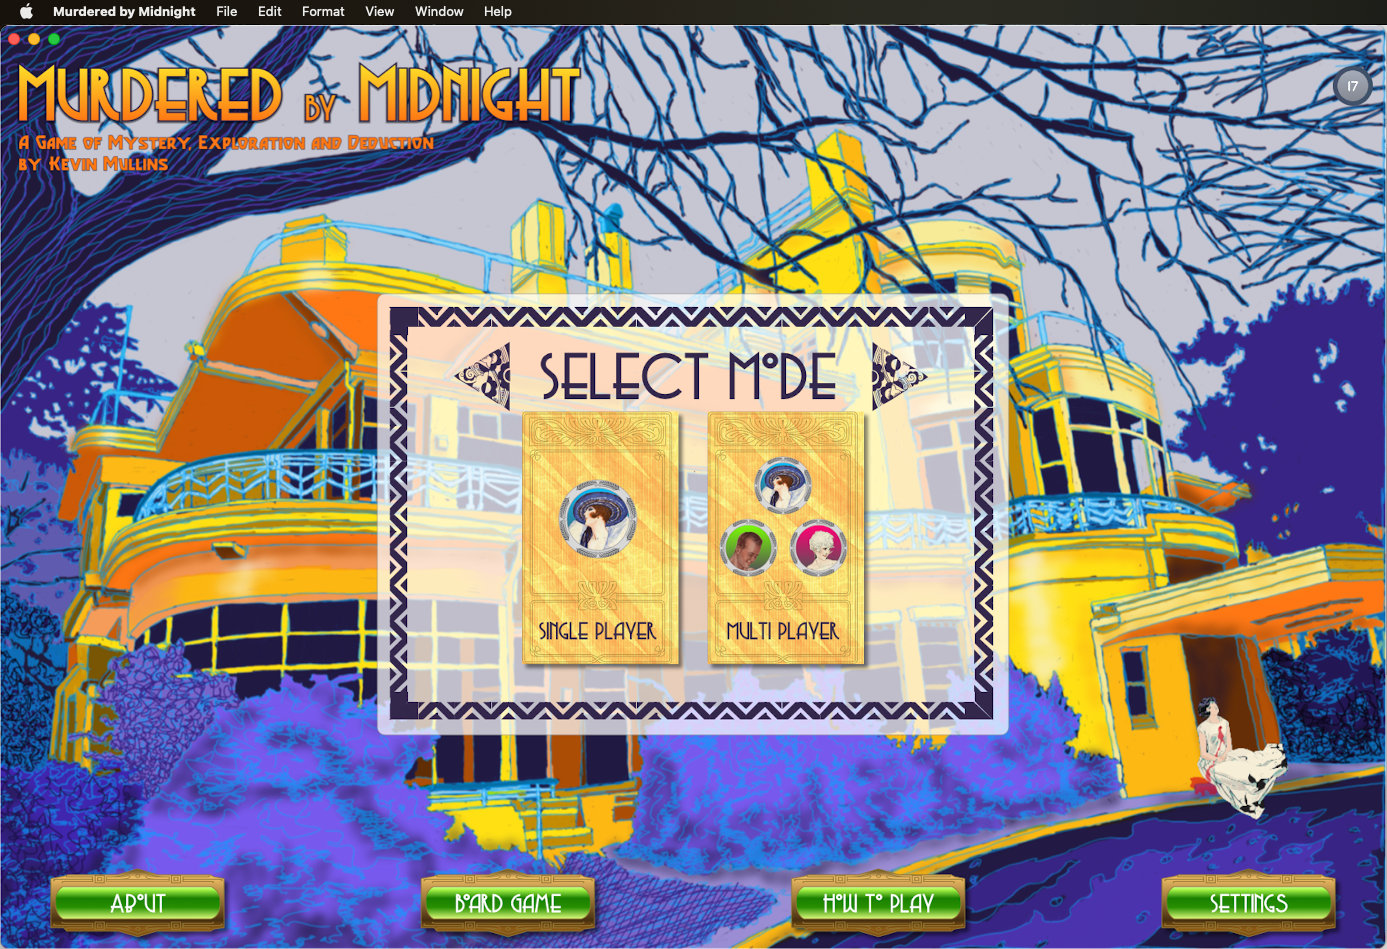
The screen’s UI now extends into the area that the Title Bar would have occupied.
Challenge 12 – Testing for Running on Mac
I added the following code to one of the shared, static classes to test for when the Catalystapp was running on a Mac at runtime:
// MARK: - Static Properties
static var isiOSAppOnMac:Bool {
    //if #available(iOS 14.0, *) {
    return ProcessInfo.processInfo.isMacCatalystApp
    //}
    //return false
}
If you want to make the test at compile time, simply use the following:
#if targetEnvironment(macCatalyst)

...

#endif
Support
If you find this useful, please consider making a small donation:

It’s through the support of contributors like yourself, I can continue to create useful articles like this one and continue build, release and maintain high-quality, well documented Swift Packages for free.
Bonus Round – Music, Sound Effects & Voice
This piece was very short and sweet, but (like the tvOS version) several of the macOS bits were covered in other parts of the article too.
In last “bonus round“, I’ll cover how I handled playing background music, sound effects and speech synthesis in the game.