
In this third part of my multipart article on converting my Murdered by Midnight Board Game to a Mobile Game App using Swift and SwiftUI, I’ll cover supporting tvOS in my Multiplatform SwiftUI game.
TL;DR Takeaway: If you’re not dealing with tvOS, feel free to move along… Otherwise, this is a short one and a quick read!
Hopefully, other indie developers can find this information useful.
Index:
- Part 1 – Deals with converting a mockup to SwiftUI, handling different device sizes & screen ratios and displays screens as needed.
- Part 2 – Covers adding Game Center support to a SwiftUI app.
- Part 3 – Covers handling tvOS quirks in a SwiftUI app.
- Part 4 – Covers handling macOS Catalyst quirks in a SwiftUI app.
- Bonus Round – Covers handling Music, Sound Effects & Voice in a SwiftUI app.
Challenge 7 – Buttons from Hell and tvOS
Oh my, where to start? The standard, built-in Button view in SwiftUI should be easy to work with in tvOS, right? Not so fast… I was having the most horrible time with them. First, let’s take a look at a little code:
Button(action: {
    DispatchQueue.main.async {
        if let action = action {
            action()
        }
    }
}) {
    ScaledImageView(imageName: imageName, width: width, height: height, scale: scale)
}
This is what I’m using on every other OS supported by my Multiplatform App and it works like a charm! Then along comes tvOS and I found myself in UI hell. When I initially ran this code on tvOS, the buttons were getting a massive amount of padding with a translucent white background. And they were having all sorts or weird, random layout issues too.
Ok, this should be an easy fix add SwiftUI code to adjust the size, padding and set the background color to clear. Yeah… no! Take a look at the following screenshots (with my final fix in place):
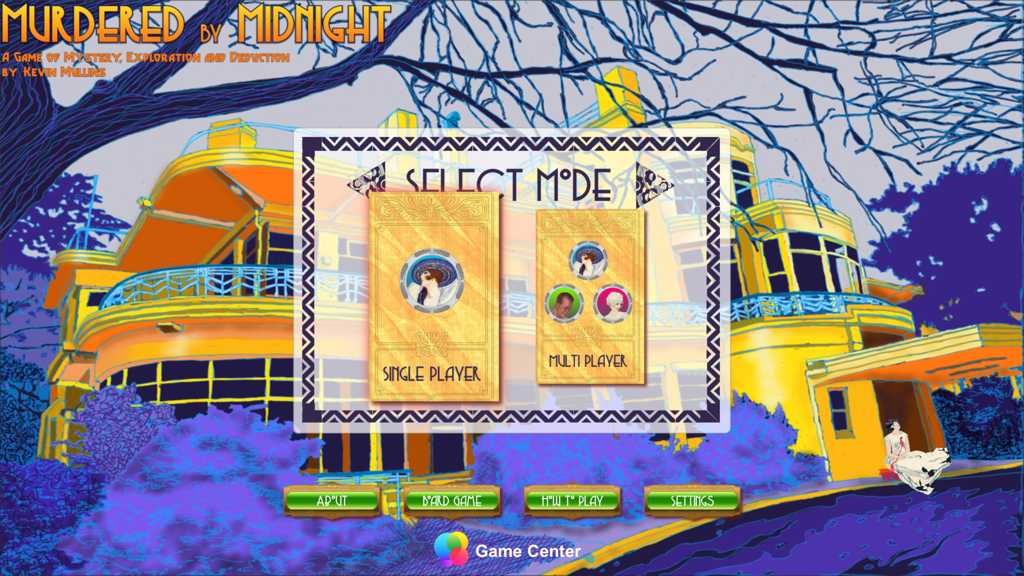
The green buttons at the bottom of the screen are all exactly the same size (with the same sized underlying images), yet some buttons would render at different sizes, with different sized boarders and padding for no apparent reason. Additionally, I was getting random gaps in the spacing of the buttons.
Even worse (and more maddening), sometimes they would render correctly… that is until the user interacted with the screen in any way. Then they would start jumping around the interface, randomly resizing and respacing like a pack of drunken lemurs in a bouncy castle!
Everything I tried seems to “almost” work… again, until you interacted with anything on the view then BOOM! For my game UI to work, I needed pixel perfect layout, every time, all the time. I almost gave up on releasing the game on tvOS.
My final solution was to roll my own “button” view and take over full control if running on tvOS. I drop to the standard, built-in Button view on every other OS:
import SwiftUI

struct ScaledImageButton: View {
    typealias buttonAction = () -> Void

    var imageName = "ModeSingle"
    var width:Float = 233.0
    var height:Float = 358.0
    var scale:Float = 0.5
    var isEnabled:Bool = true
    var action:buttonAction? = nil

    @State private var isFocused = false

    var glowRadius:CGFloat {
        if isFocused {
            return CGFloat(10.0)
        } else {
            return CGFloat(0.0)
        }
    }

    var body: some View {
        if !isEnabled {
            ScaledImageView(imageName: imageName, width: width, height: height, scale: scale)
                .opacity(0.50)
        } else {
            #if os(tvOS)
            ScaledImageView(imageName: imageName, width: width, height: height, scale: scale)
                .scaleEffect(isFocused ? CGFloat(1.2) : CGFloat(1.0))
                .focusable(true) { newState in
                    isFocused = newState
                    if isFocused {
                        SoundManager.shared.playSoundEffect(sound: "ButtonClick.mp3", channel: .channel02)
                    }
                }
                .animation(.easeInOut, value: isFocused)
                .shadow(color: Color("AccentColor"), radius: glowRadius)
                .onLongPressGesture(minimumDuration: 0.01, pressing: { _ in }) {
                    DispatchQueue.main.async {
                        if let action = action {
                            action()
                        }
                    }
                }
            #else
            Button(action: {
                DispatchQueue.main.async {
                    if let action = action {
                        action()
                    }
                }
            }) {
                ScaledImageView(imageName: imageName, width: width, height: height, scale: scale)
            }
            #endif
        }
    }
}
On tvOS I take over the full drawing and animation of the image view as focus shifts to and from the “button”. I also play a little “click” sounds as the focus shifts to give the user a little more feedback.
The only thing I had a hard time finding on the internet was how to respond to the user “clicking” on the button. After lots and lots of searches, I found that you can use the onLongPressGesture with a very short duration:
.onLongPressGesture(minimumDuration: 0.01, pressing: { _ in }) {
    DispatchQueue.main.async {
        if let action = action {
            action()
        }
    }
}
With this code in place, I could simply call my custom SwiftUI view and everything rendered as expected across all support OSes. I use a conditional to decide which of these two functions to call based on OS:
@ViewBuilder
private func standardNavigationButtons() -> some View {
HStack {
ScaledImageButton(imageName: "ButtonAbout", width: 257, height: 120, scale: buttonScale) {
SoundManager.shared.playSoundEffect(sound: "ShpiraJazzKick.wav")
dataStore.changeView(view: .aboutView)
}
Spacer()
ScaledImageButton(imageName: "ButtonBoardGame", width: 257, height: 120, scale: buttonScale) {
SoundManager.shared.playSoundEffect(sound: "ShpiraJazzKick.wav")
dataStore.changeView(view: .boardGameView)
}
Spacer()
ScaledImageButton(imageName: "ButtonHowToPlay", width: 257, height: 120, scale: buttonScale) {
SoundManager.shared.playSoundEffect(sound: "ShpiraJazzKick.wav")
dataStore.changeView(view: .howToPlayView)
}
Spacer()
ScaledImageButton(imageName: "ButtonSettings", width: 257, height: 120, scale: buttonScale) {
SoundManager.shared.playSoundEffect(sound: "ShpiraJazzKick.wav")
dataStore.changeView(view: .settingsView)
}
}
.padding(.horizontal, 50.0)
}
@ViewBuilder
private func tvNavigationButtons() -> some View {
VStack(alignment: .center, spacing: 10.0) {
HStack(spacing: 20.0) {
Spacer()
ScaledImageButton(imageName: "ButtonAbout", width: 257, height: 120, scale: buttonScale) {
SoundManager.shared.playSoundEffect(sound: "ShpiraJazzKick.wav")
dataStore.changeView(view: .aboutView)
}
ScaledImageButton(imageName: "ButtonBoardGame", width: 257, height: 120, scale: buttonScale) {
SoundManager.shared.playSoundEffect(sound: "ShpiraJazzKick.wav")
dataStore.changeView(view: .boardGameView)
}
ScaledImageButton(imageName: "ButtonHowToPlay", width: 257, height: 120, scale: buttonScale) {
SoundManager.shared.playSoundEffect(sound: "ShpiraJazzKick.wav")
dataStore.changeView(view: .howToPlayView)
}
ScaledImageButton(imageName: "ButtonSettings", width: 257, height: 120, scale: buttonScale) {
SoundManager.shared.playSoundEffect(sound: "ShpiraJazzKick.wav")
dataStore.changeView(view: .settingsView)
}
Spacer()
}
if allowMultiplayer {
ScaledImageButton(imageName: "ButtonGameCenter", width: 369, height: 84, scale: buttonScale) {
SoundManager.shared.playSoundEffect(sound: "ShpiraJazzKick.wav")
GKAccessPoint.shared.trigger(handler: {})
}
}
}
.padding(.bottom)
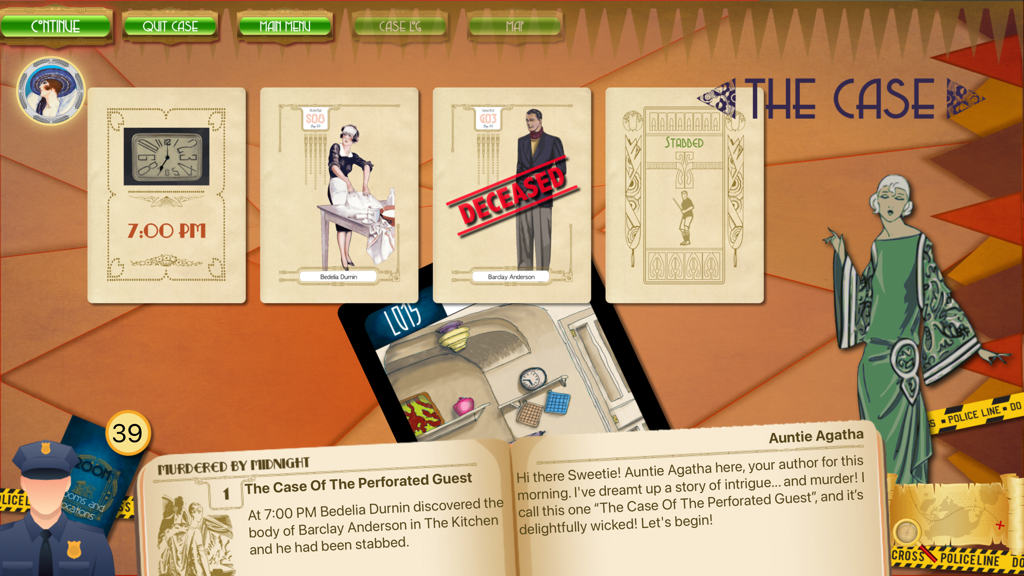
}On the tvOS version, I’m using center spacing so all the buttons are accessible via the Focus Engine without having to use any Focus Guide trickery.
This worked like a charm:
Challenge 8 – How to Respond to the Buttons on the Siri Remote?
When you are using UIKit this is an almost trivial task. But how do you do it in a SwiftUI app? This was another one of those situations where it took days and days on internet searching, and I almost gave up again.
Finally, almost as an afterthought mention in Apple’s documentation, I found .onExitCommand. It allows you to respond to Menu/Back Button on a Siri Remote in tvOS:
var body: some View {
    #if os(tvOS)
    mainBody()
    .onExitCommand {
        ...

        // Return to last view
        dataStore.currentView = dataStore.lastView
    }
    #else
    mainBody()
    #endif
}

@ViewBuilder
private func mainBody() -> some View {
    GeometryReader { geometry in
        ZStack(alignment: .topLeading) {
            ...
        }
        .ignoresSafeArea()
    }
    .ignoresSafeArea()
}
In the code above, I’m using the mainBody() function to render the contents of the view. Inside the standard body property, I’m attaching my .onExitCommand to the mainBody() if I’m running on tvOS so I can capture the Siri Remote Menu/Back button.
NOTE: You can find the
.onXXXcommands to handle the Siri Remote events for all the other buttons in Apple’s Input and Events documentation.
The First Gotcha!
So .onExitCommand works great and does exactly what I wanted… until I hit a screen that didn’t have any focusable items on it, then it unexpectedly stops working. Hitting the Menu button on the Siri Remote just took the user back to the Home screen on the Apple TV. For example:
I found the following solution, simply make the entire body of the focusable. And this seemed to work great:
var body: some View {
    #if os(tvOS)
    mainBody()
    .focusable(true)
    .onExitCommand {
        SoundManager.shared.playSoundEffect(sound: "ShpiraJazzKick.wav")
        dataStore.currentView = .startNewGameView
    }
    #else
    mainBody()
    #endif
}
WARNING! So a last minute update on this one. It worked great when I was compiling and testing in debug mode. I’m fortunate to have 3 different generations of Apple TV hardware here so I could test on the real deal. However, when I download the release version of the App onto any of these devices from the App Store, the Menu/Back button works about 50% of the time… Which is VERY annoying. I’m going to have to return the back buttons to the UI until I can find a fix.
Support
If you find this useful, please consider making a small donation:

It’s through the support of contributors like yourself, I can continue to create useful articles like this one and continue build, release and maintain high-quality, well documented Swift Packages for free.
In Part 4
This was a much shorter piece than the first two parts, but I’d already covered some of the tvOS bits in those articles too.
In the fourth and final part of this article, I’ll cover the challenges I faced putting the app on macOS via Catalyst.