

This is the third and final part of our three part series on creating Universal Frameworks with the Swift Package Manager covers the steps Appracatappra uses to build Swift Packages that support sharing common code across Swift Projects and Apple OSes.
In the first part, Building Cross-Platform Universal Frameworks using Swift & the Swift Package Manager, we covered the steps required to create a new Swift Package, set the OSes that the Framework will run on, added the code & tests for the Framework and ensured that the Framework built on every OS supported.
The second part of the series, Documenting Your Swift Package , we covered the steps required to properly document your Swift Package so any developer using your Framework knows how to properly implement it.
In this section, we will cover to steps to release your Swift Package on GitHub and how to set and maintain the Version of the Framework.
Part three contains the following sections:
- Hosting your Swift Package
- Publishing your Swift Package on GitHub
- Versioning your Swift Package on GitHub
- Installation the Swift Package
- Bonus: The Swift Package Index
As I stated in the first two parts of the series, I found much of the information for this article scattered throughout the internet, so another point of this article is to pull it all together in one place. I’ll give credit and link back to the original source articles, so you can look at different ways of structuring your projects to fit your own needs.
Hosting your Swift Package
When you are ready to release your Swift Package you will need a place to host the Code Repository (Repo), typically this is done on GitHub. For this rest of article, I’ll assume you are releasing a free, open-source Framework. If you are releasing an internal Framework, the steps are nearly identical, just keep your Repo Private.
Once your Framework has been released and a Version Tag (see below) has been created, you’ll give another developer the address of this Repo which they will use with the Swift Package Manager to add the Framework to one of their app projects.
Publishing your Swift Package on GitHub
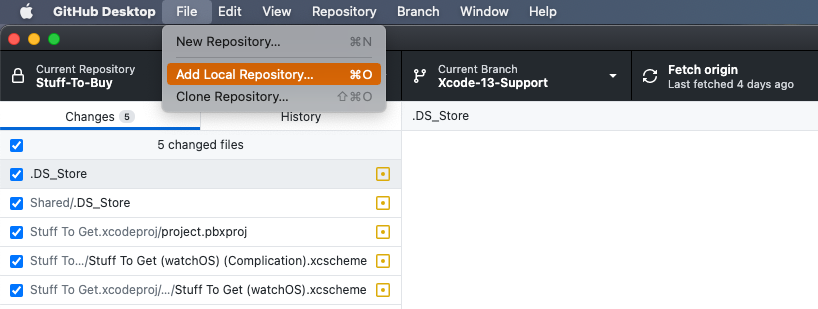
When you are ready to release your Framework on GitHub, open the GitHub Desktop App. From the File menu select Add Local Repository…:
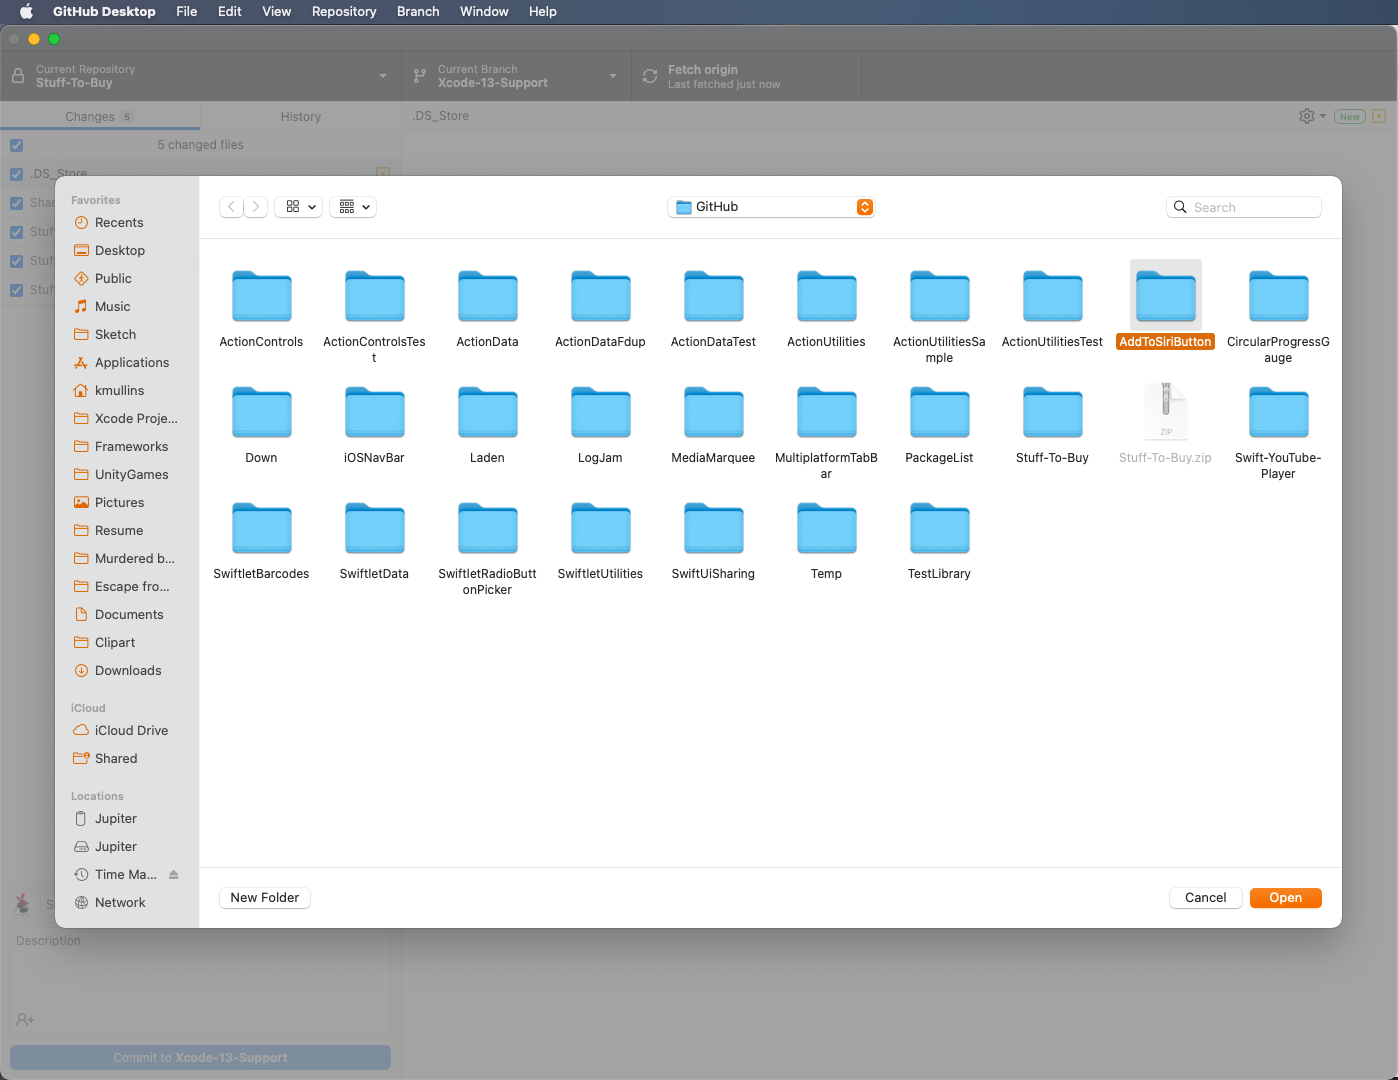
Next, select the directory when you have created your Framework:
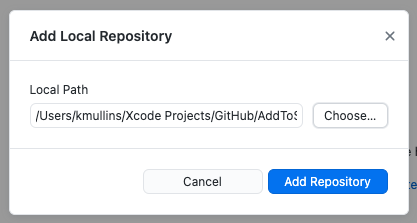
Click the Add Repository button:
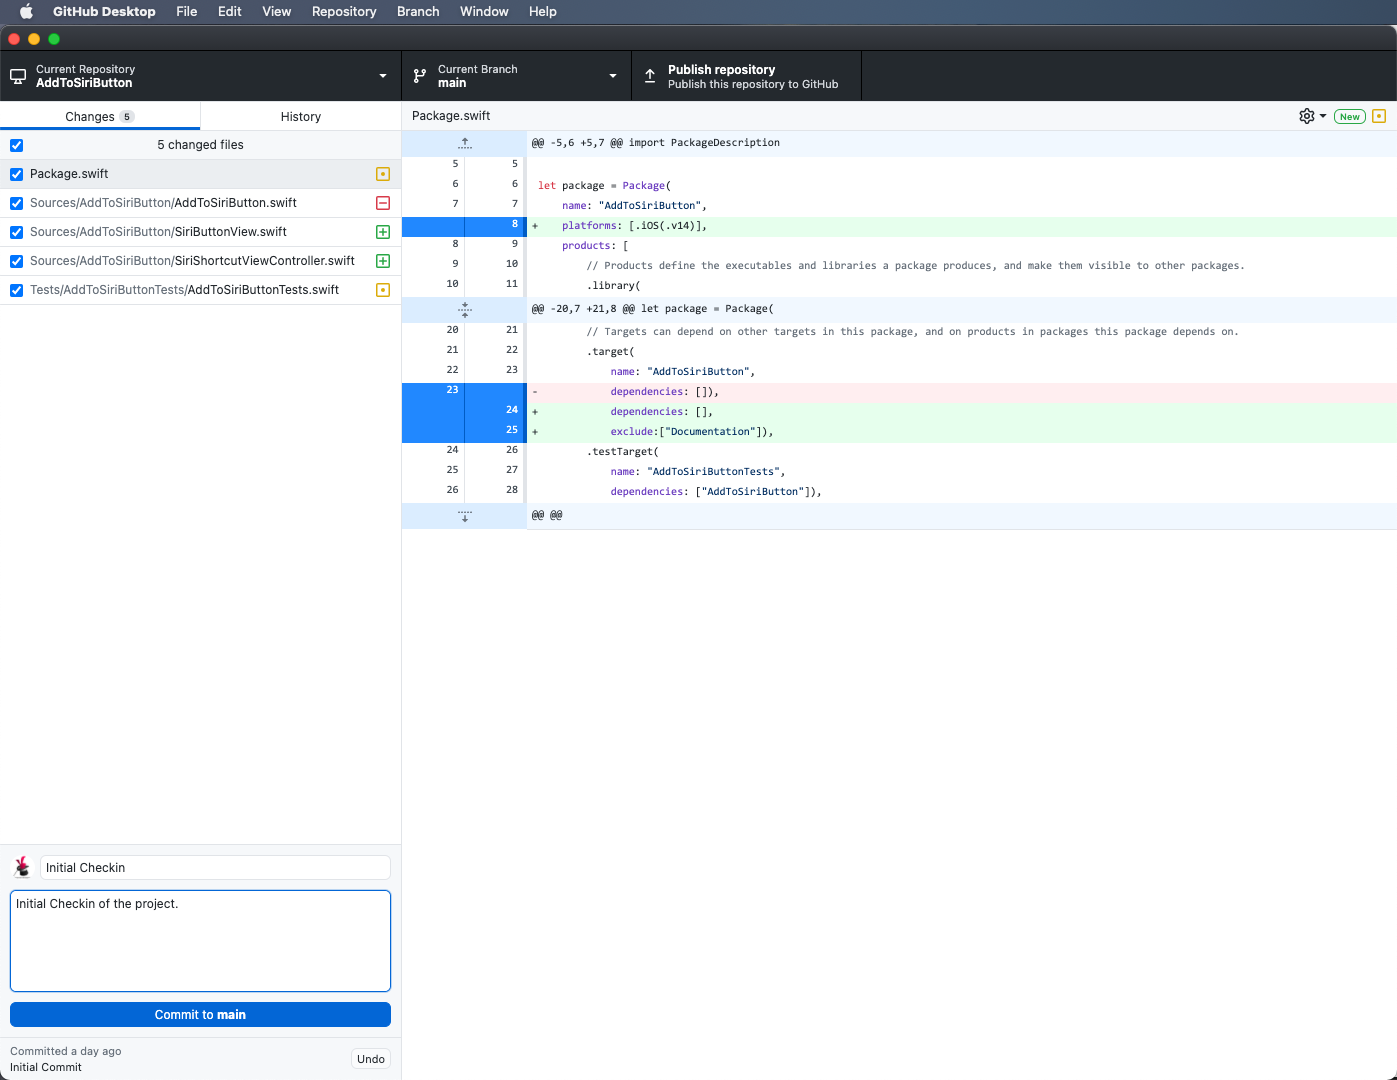
Provide information for the release and click the Commit to Main button:
Click the Push Repository button:
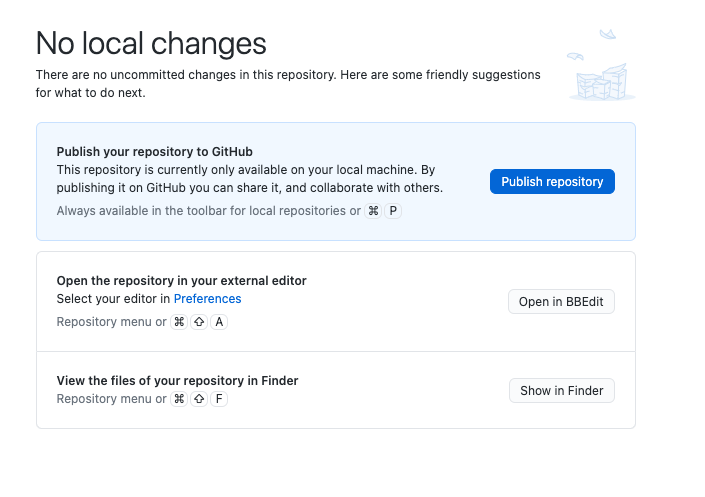
Add a Description, uncheck the Keep this code private checkbox and click the Publish Repository button:

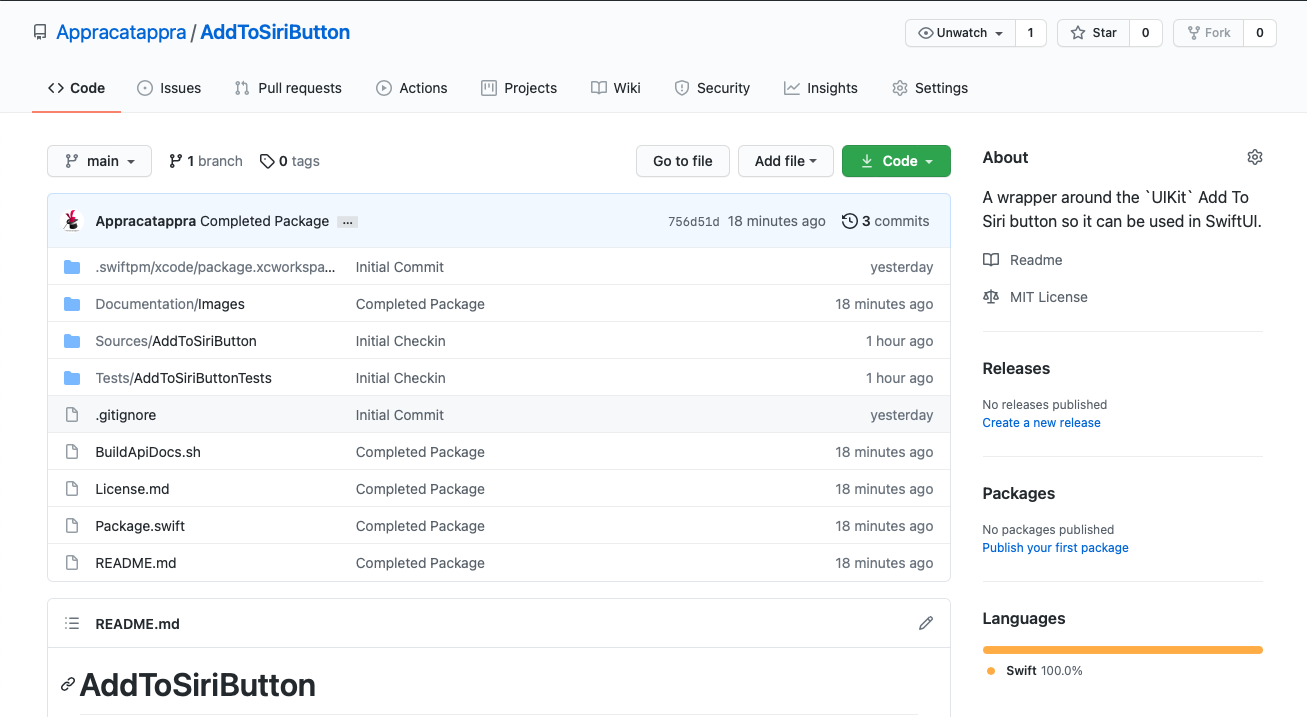
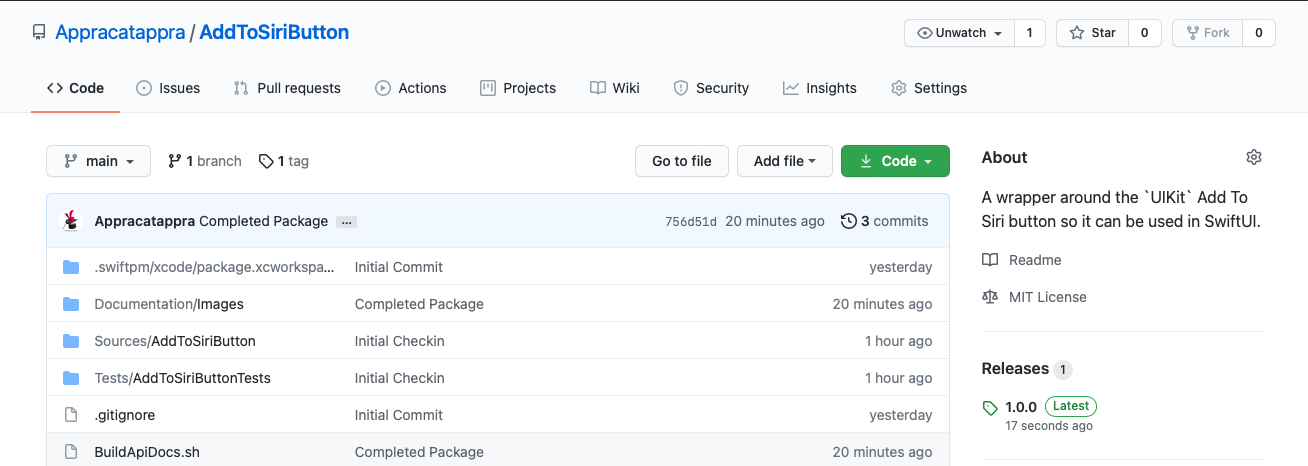
If you visit GitHub, you should be able to see your new Repo:

Versioning your Swift Package on GitHub
There is one final step that will be required to release your Swift Package so a developer will be able to use the Swift Package Manager to consume your Framework in one of their Swift Projects.
Visit your Swift Package on GitHub. Under the Releases section on the right hand side of the screen and click on the Create a new release link:
Enter 1.0.0 for the Tag and Details. Provide a Description and click the Publish release button:
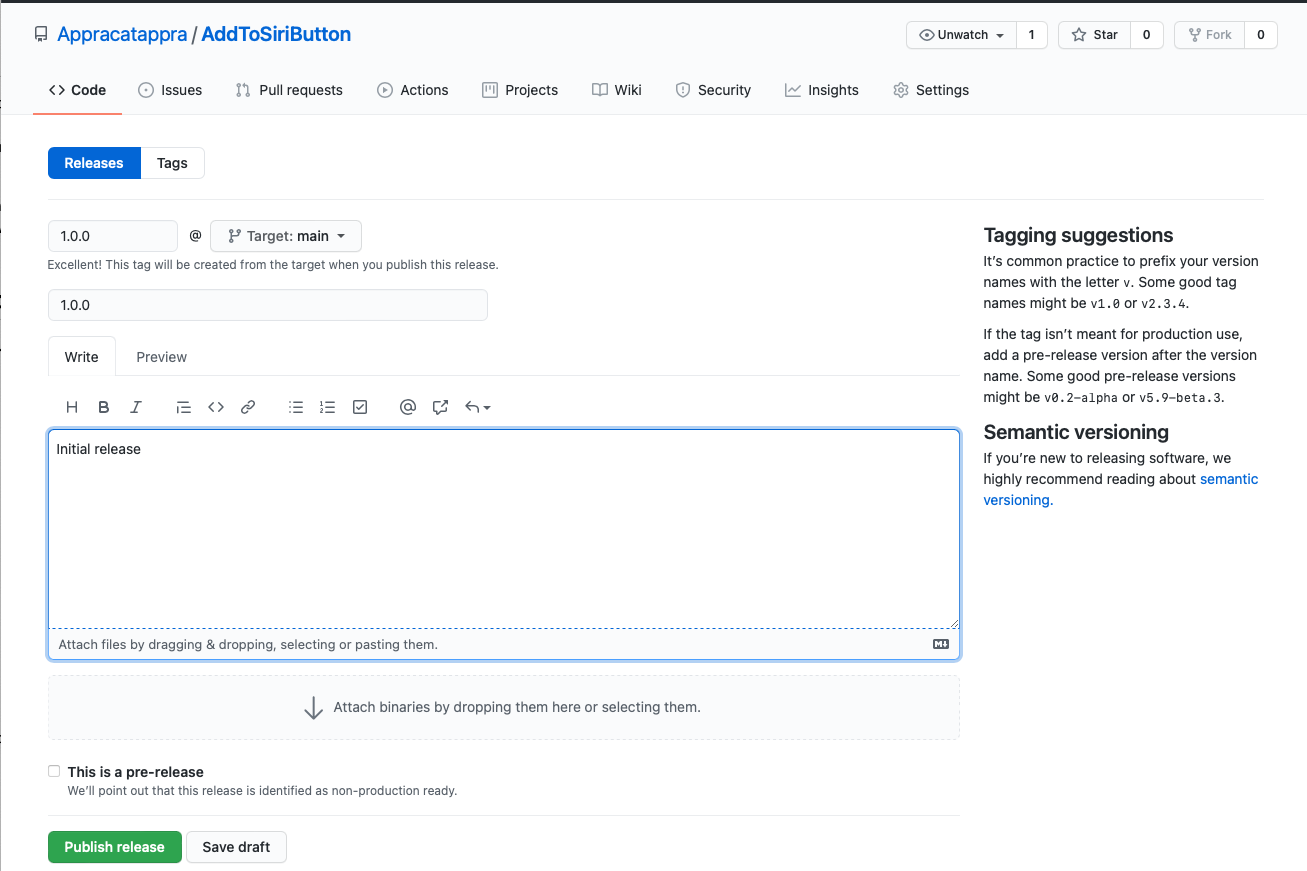
WARNING! The formatting of your Tag is very critical and must be in the form
1.0.0or the Swift Package will not be available in the Swift Package Manager.
You’ll end up with a screen that looks like the following:
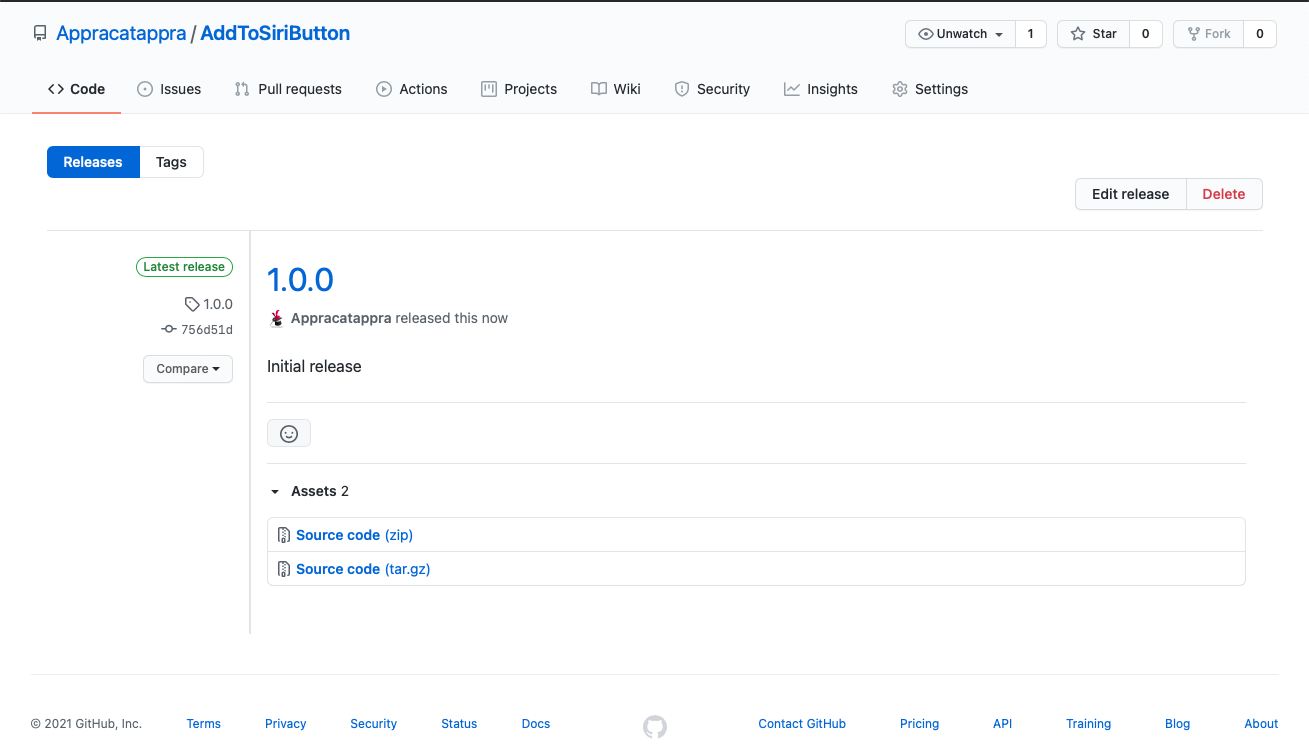
If you return to the main screen for your Swift Package, you’ll see the new release under the Release section:
If you release a new version of your Framework, you’ll to push it to the Main Branch on GitHub and create a new version Tag using the steps above.
Installation the Swift Package
Using your Framework in a Swift Project is very easy using the Swift Package Manager (Xcode 11 and above). Just do the following:
- Select File > Swift Packages > Add Package Dependency… from the File menu.
- Paste
https://github.com/Appracatappra/AddToSiriButton.gitin the dialog box. - Follow the Xcode’s instruction to complete the installation.
Bonus: The Swift Package Index
If you are wanting to release your Framework for free, I’d suggest listing it on the Swift Package Index. It’s a great resource for developer’s to find your Framework:
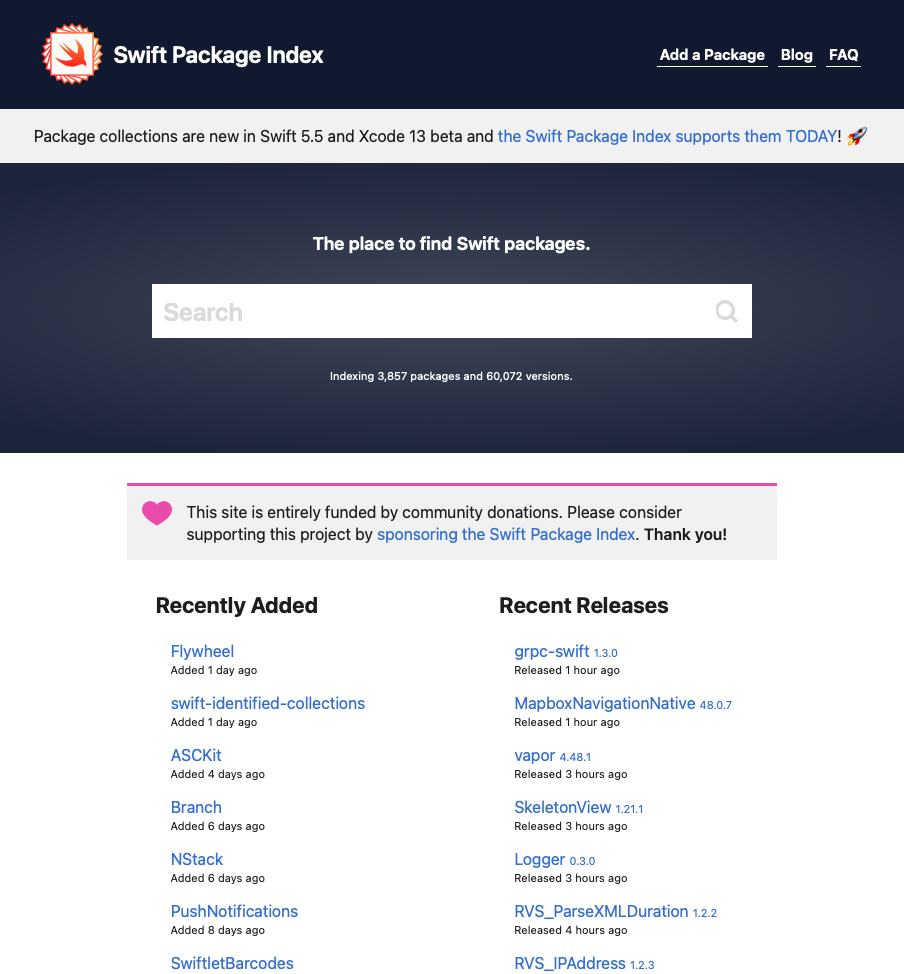
Their FAQ provides all of the details you’ll need to add your Swift Package to the list.
That’s it, your all done! I hope you’ve found this series useful.
Support
If you find this useful, please consider making a small donation:

It’s through the support of contributors like yourself, I can continue to create useful articles like this one and continue build, release and maintain high-quality, well documented Swift Packages for free.